springcloud微服务搭建demo
新建工程
新建eureka服务发现与注册模块
EurekaServer注册中心,里面有一个注册表,保存了各个服务所在的机器和端口号
新建一个模块,选择Eureka Server依赖
pom.xml配置如下:
`
spring-boot-starter-parent
eureka-service
<java.version>1.8</java.version>
<spring-cloud.version>2021.0.5</spring-cloud.version>
spring-cloud-starter-netflix-eureka-server
    <dependency>
        <groupId>org.springframework.boot</groupId>
        <artifactId>spring-boot-starter-test</artifactId>
        <scope>test</scope>
    </dependency>
</dependencies>
<dependencyManagement>
    <dependencies>
        <dependency>
            <groupId>org.springframework.cloud</groupId>
            <artifactId>spring-cloud-dependencies</artifactId>
            <version>${spring-cloud.version}</version>
            <type>pom</type>
            <scope>import</scope>
        </dependency>
    </dependencies>
</dependencyManagement>

<build>
    <plugins>
        <plugin>
            <groupId>org.springframework.boot</groupId>
            <artifactId>spring-boot-maven-plugin</artifactId>
        </plugin>
    </plugins>
</build>
` application.yml配置如下: `server: port: 8761 eureka: instance: hostname: localhost client: registerWithEureka: false fetchRegistry: false serviceUrl: defaultZone: http://${eureka.instance.hostname}:${server.port}/eureka` 启动类添加@EnableEurekaServer注解 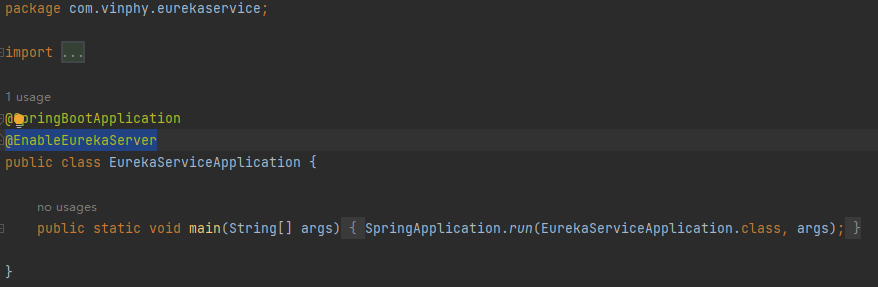 启动eureka服务 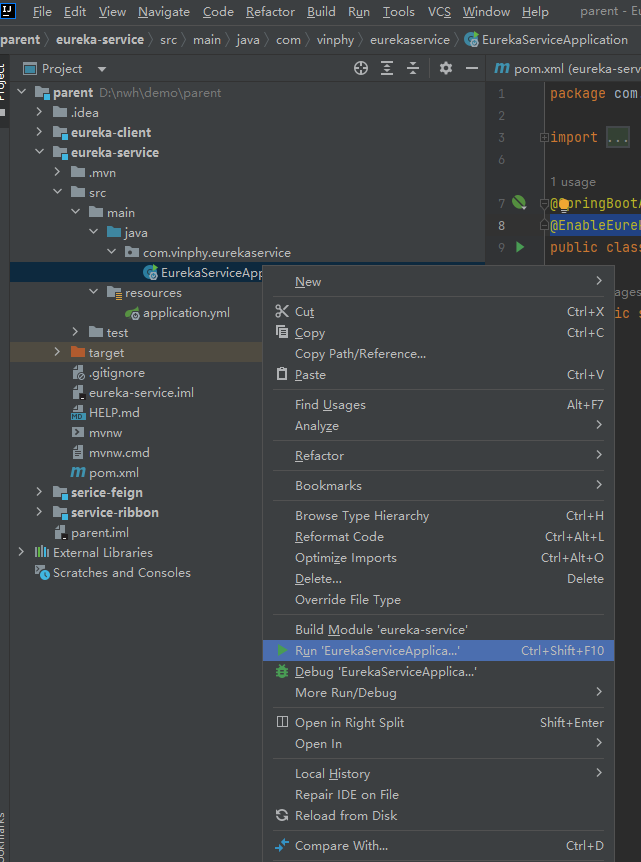 访问 http://localhost:8761/ 网址,可看到Eureka页面,暂无Application 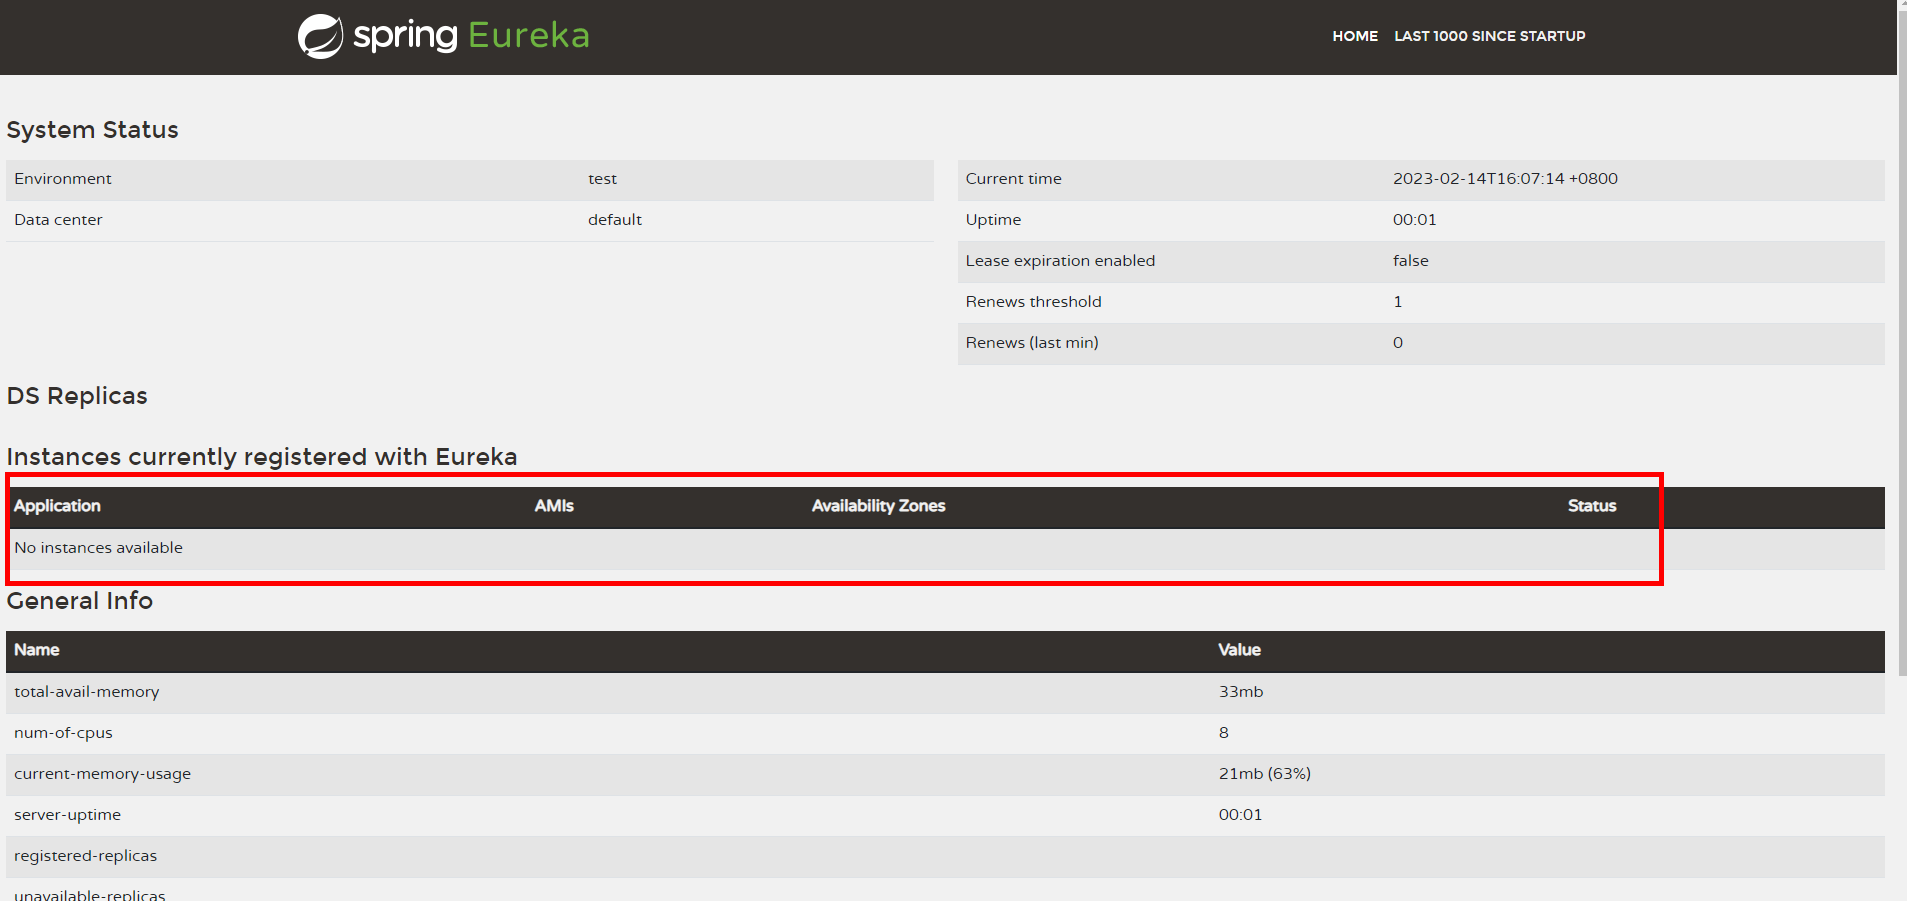
新建一个服务提供者
将这个服务的信息注册到EurekaServer中,别的服务可以在不知道IP和端口的情况下调用该服务。
新建一个模块,引入Eureka Discovery Client 依赖
pom.xml配置文件如下:
`
spring-boot-starter-parent
eureka-client
<java.version>1.8</java.version>
<spring-cloud.version>2021.0.5</spring-cloud.version>
spring-cloud-starter-netflix-eureka-client
spring-boot-starter-web
    <dependency>
        <groupId>org.springframework.boot</groupId>
        <artifactId>spring-boot-starter-test</artifactId>
        <scope>test</scope>
    </dependency>
</dependencies>
<dependencyManagement>
    <dependencies>
        <dependency>
            <groupId>org.springframework.cloud</groupId>
            <artifactId>spring-cloud-dependencies</artifactId>
            <version>${spring-cloud.version}</version>
            <type>pom</type>
            <scope>import</scope>
        </dependency>
    </dependencies>
</dependencyManagement>

<build>
    <plugins>
        <plugin>
            <groupId>org.springframework.boot</groupId>
            <artifactId>spring-boot-maven-plugin</artifactId>
        </plugin>
    </plugins>
</build>
` 该服务可部署多个,建立一个公共配置文件,然后在子配置文件中配置不同端口,如本示例中8762、8763两个端口。 application.yml配置文件如下: `spring: application: name: service-support profiles: active: server1` application-server1.yml配置文件如下: `server: port: 8762 eureka: instance: hostname: server1 client: serviceUrl: defaultZone: http://localhost:8761/eureka/` application-server2.yml配置文件如下: `server: port: 8763 eureka: instance: hostname: server2 client: serviceUrl: defaultZone: http://localhost:8761/eureka/ ` 启动类加上@EnableEurekaClient注解 `package com.vinphy.eurekaclient;
import org.springframework.boot.SpringApplication;
import org.springframework.boot.autoconfigure.SpringBootApplication;
import org.springframework.cloud.netflix.eureka.EnableEurekaClient;
@SpringBootApplication
@EnableEurekaClient
public class EurekaClientApplication {
public static void main(String[] args) {
    SpringApplication.run(EurekaClientApplication.class, args);
}
}新建一个TestController类,定义/support方法package com.vinphy.eurekaclient;
import org.springframework.beans.factory.annotation.Value;
import org.springframework.stereotype.Controller;
import org.springframework.web.bind.annotation.RequestMapping;
import org.springframework.web.bind.annotation.RequestMethod;
import org.springframework.web.bind.annotation.RequestParam;
import org.springframework.web.bind.annotation.RestController;
@RestController
public class TestController {
@Value("${server.port}")
String port;


@RequestMapping(value = "/support",method = RequestMethod.GET)
public String home(@RequestParam String name)
{
    return "hi " + name + ",i am from port:" + port;
}
}
`
启动服务,可以在Eureka网站上看到SERVICE-SUPPORT服务端口为8762
访问网址 http://localhost:8762/support?name=nwh 可得到support方法打印内容
再启动一次service-support服务
修改application.yml配置文件中active配置为server2spring: application: name: service-support profiles: active: server2
添加一个启动配置,并启动
访问Eureka网页,可以看到service-support启了两个实例,端口分别为8762、8763
新建feign动态代理
Feign使用了动态代理,用注解定义一个FeignClient接口,然后调用这个接口就可以了。FeignClient会在底层根据注解,与指定的服务建立连接、构建请求地址、发起请求、获取响应、解析响应等等。
新建一个模块,引入OpenFeign依赖
pom.xml配置文件如下:
`
spring-boot-starter-parent
serice-feign
<java.version>1.8</java.version>
<spring-cloud.version>2021.0.5</spring-cloud.version>
spring-boot-starter-web
spring-cloud-starter-netflix-eureka-client
spring-cloud-starter-openfeign
    <dependency>
        <groupId>org.springframework.boot</groupId>
        <artifactId>spring-boot-starter-test</artifactId>
        <scope>test</scope>
    </dependency>
</dependencies>
<dependencyManagement>
    <dependencies>
        <dependency>
            <groupId>org.springframework.cloud</groupId>
            <artifactId>spring-cloud-dependencies</artifactId>
            <version>${spring-cloud.version}</version>
            <type>pom</type>
            <scope>import</scope>
        </dependency>
    </dependencies>
</dependencyManagement>

<build>
    <plugins>
        <plugin>
            <groupId>org.springframework.boot</groupId>
            <artifactId>spring-boot-maven-plugin</artifactId>
        </plugin>
    </plugins>
</build>
` application.yml配置文件如下: `server: port: 8765 eureka: client: serviceUrl: defaultZone: http://localhost:8761/eureka/ spring: application: name: service-feign` 启动类加上@EnableDiscoveryClient、@EnableFeignClients注解 `package com.vinphy.sericefeign;
import org.springframework.boot.SpringApplication;
import org.springframework.boot.autoconfigure.SpringBootApplication;
import org.springframework.cloud.client.discovery.EnableDiscoveryClient;
import org.springframework.cloud.openfeign.EnableFeignClients;
/**
动态代理进行调用
*/
@SpringBootApplication
@EnableDiscoveryClient
@EnableFeignClients
public class SericeFeignApplication {public static void main(String[] args) {
SpringApplication.run(SericeFeignApplication.class, args);
}
}定义一个HiController类,和hi方法package com.vinphy.sericefeign;
import org.springframework.beans.factory.annotation.Autowired;
import org.springframework.web.bind.annotation.RequestMapping;
import org.springframework.web.bind.annotation.RequestMethod;
import org.springframework.web.bind.annotation.RequestParam;
import org.springframework.web.bind.annotation.RestController;
@RestController
public class HiController {
@Autowired
SchedualServiceHi schedualServiceHi;
@RequestMapping(value = "/hi",method = RequestMethod.GET)
public String sayHi(@RequestParam String name){
    return schedualServiceHi.sayHiFromClientOne(name);
}
}定义一个SchedualServiceHi接口,通过@FeignClient注解绑定service-support服务。package com.vinphy.sericefeign;
import org.springframework.cloud.openfeign.FeignClient;
import org.springframework.web.bind.annotation.RequestMapping;
import org.springframework.web.bind.annotation.RequestMethod;
import org.springframework.web.bind.annotation.RequestParam;
/**绑定service-support服务,调用该服务的support方法*/
@FeignClient(value = "service-support")
public interface SchedualServiceHi {
@RequestMapping(value = "/support", method = RequestMethod.GET)
String sayHiFromClientOne(@RequestParam(value = "name") String name);
}
`
启动服务,此时可以通过访问8765端口实际调用service-support服务的support方法,因为service-support服务有两个端口,不断访问 http://localhost:8765/hi?name=vinphy ,会交替打印862、8763端口
新建Ribbon负载均衡服务
Ribbon会帮你在每次请求时选择一台机器均匀的把你的请求分发到各个机器上
新建service-ribbon模块
eureka包含了ribbon,所以不需要单独引入ribbon依赖
pom.xml配置文件如下:
`
spring-boot-starter-parent
service-ribbon
<java.version>1.8</java.version>
<spring-cloud.version>2021.0.5</spring-cloud.version>
spring-boot-starter-web
spring-cloud-starter-netflix-eureka-client
    <dependency>
        <groupId>org.springframework.cloud</groupId>
        <artifactId>spring-cloud-starter-netflix-hystrix</artifactId>
        <version>2.1.0.RELEASE</version>
    </dependency>

    <dependency>
        <groupId>org.springframework.boot</groupId>
        <artifactId>spring-boot-starter-test</artifactId>
        <scope>test</scope>
    </dependency>
</dependencies>
<dependencyManagement>
    <dependencies>
        <dependency>
            <groupId>org.springframework.cloud</groupId>
            <artifactId>spring-cloud-dependencies</artifactId>
            <version>${spring-cloud.version}</version>
            <type>pom</type>
            <scope>import</scope>
        </dependency>
    </dependencies>
</dependencyManagement>

<build>
    <plugins>
        <plugin>
            <groupId>org.springframework.boot</groupId>
            <artifactId>spring-boot-maven-plugin</artifactId>
        </plugin>
    </plugins>
</build>
` application.xml配置文件如下: `server: port: 8764 spring: application: name: service-ribbon eureka: client: registerWithEureka: true fetchRegistry: true serviceUrl: defaultZone: http://localhost:8761/eureka/` 启动类加入@EnableDiscoveryClient、@EnableHystrix注解。并添加restTemplate方法 `package com.vinphy.serviceribbon;
import org.springframework.boot.SpringApplication;
import org.springframework.boot.autoconfigure.SpringBootApplication;
import org.springframework.cloud.client.discovery.EnableDiscoveryClient;
import org.springframework.cloud.client.loadbalancer.LoadBalanced;
import org.springframework.cloud.netflix.hystrix.EnableHystrix;
import org.springframework.context.annotation.Bean;
import org.springframework.web.client.RestTemplate;
/**
负载均衡
*/
@SpringBootApplication
@EnableDiscoveryClient
@EnableHystrix
public class ServiceRibbonApplication {public static void main(String[] args) {
SpringApplication.run(ServiceRibbonApplication.class, args);
}@Bean
@LoadBalanced
RestTemplate restTemplate()
{
return new RestTemplate();
}
}
新建HelloControler类,定义hi方法package com.vinphy.serviceribbon;
import org.springframework.beans.factory.annotation.Autowired;
import org.springframework.web.bind.annotation.RequestMapping;
import org.springframework.web.bind.annotation.RequestMethod;
import org.springframework.web.bind.annotation.RequestParam;
import org.springframework.web.bind.annotation.RestController;
@RestController
public class HelloControler {
@Autowired
HelloService helloService;
@RequestMapping(value = "/hi",method = RequestMethod.GET)
public String hi(@RequestParam String name)
{
return helloService.hiService(name);
}
}新建HelloService类,自动注入restTemplate。通过restTemplate的getForObject方法去用http方式访问其他服务。不需要知道被访问服务的IP和端口,只需要知道被访问服务的注册服务名。package com.vinphy.serviceribbon;
import com.netflix.hystrix.contrib.javanica.annotation.HystrixCommand;
import org.springframework.beans.factory.annotation.Autowired;
import org.springframework.stereotype.Service;
import org.springframework.web.client.RestTemplate;
@Service
public class HelloService {
@Autowired
RestTemplate restTemplate;
@HystrixCommand(fallbackMethod = "hiError")
public String hiService(String name)
{
return restTemplate.getForObject("http://service-support/"+"support?name=" + name, String.class);
}
public String hiError(String name) {
    return "hi," + name + ",sorry,error!";
}
}
`
启动服务,访问网址 http://localhost:8765/hi?name=vinphy ,会在876、8763两个不同服务间交替调用。
相关文章